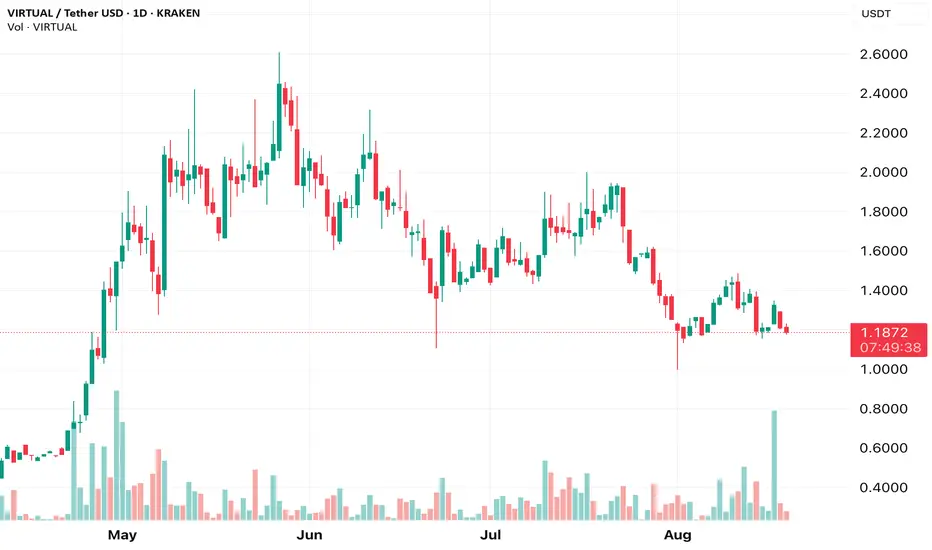
*Thesis (1–6 weeks):** Tactical map for <VIRTUAL>. I use H1/H4 for execution, D1 for structure. Only trade when price + OI/funding confirm.
**Setup:**
– Structure: <e.g., D1 uptrend / range / downtrend>.
– Key support: <S1>, <S2>.
– Key resistance: <R1>, <R2>.
– Momentum trigger: H4 close > <level> with rising volume.
**Derivatives checks (context, not signals):**
– OI(24h): <up/down>
– Funding: <sub-overheat / hot / negative>
– L/S skew: <neutral / long-crowded / short-crowded>
**Plan:**
– Spot adds: <zone>.
– Leverage (max 3–5x): Only on breakout > <level> with OI ≥ +3% and funding ≤ +0.01.
– Invalidation: Daily close < <level> or H1 structure break (last HL/LL).
**Risk:**
– Cut 30–50% if funding > +0.012% or OI stalls for 4h.
– Hard stop 2× ATR(H1) from entry; per-trade risk ≤ 0.5–1.0% of portfolio.
*Not financial advice. For my log: I update levels if structure changes.*
면책사항
해당 정보와 게시물은 금융, 투자, 트레이딩 또는 기타 유형의 조언이나 권장 사항으로 간주되지 않으며, 트레이딩뷰에서 제공하거나 보증하는 것이 아닙니다. 자세한 내용은 이용 약관을 참조하세요.
면책사항
해당 정보와 게시물은 금융, 투자, 트레이딩 또는 기타 유형의 조언이나 권장 사항으로 간주되지 않으며, 트레이딩뷰에서 제공하거나 보증하는 것이 아닙니다. 자세한 내용은 이용 약관을 참조하세요.